

Before you start
You need:- A pipeline you are building or editing with the agent, with a labeling node in it. See the first labeled dataset tutorial if you have not built a pipeline yet.
- A node that labels existing data, not one that collects new content. Synthetic labeling is not available for data-collection nodes.
Step 1 — Ask the agent to switch the node to synthetic labeling
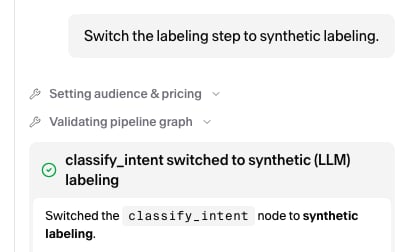
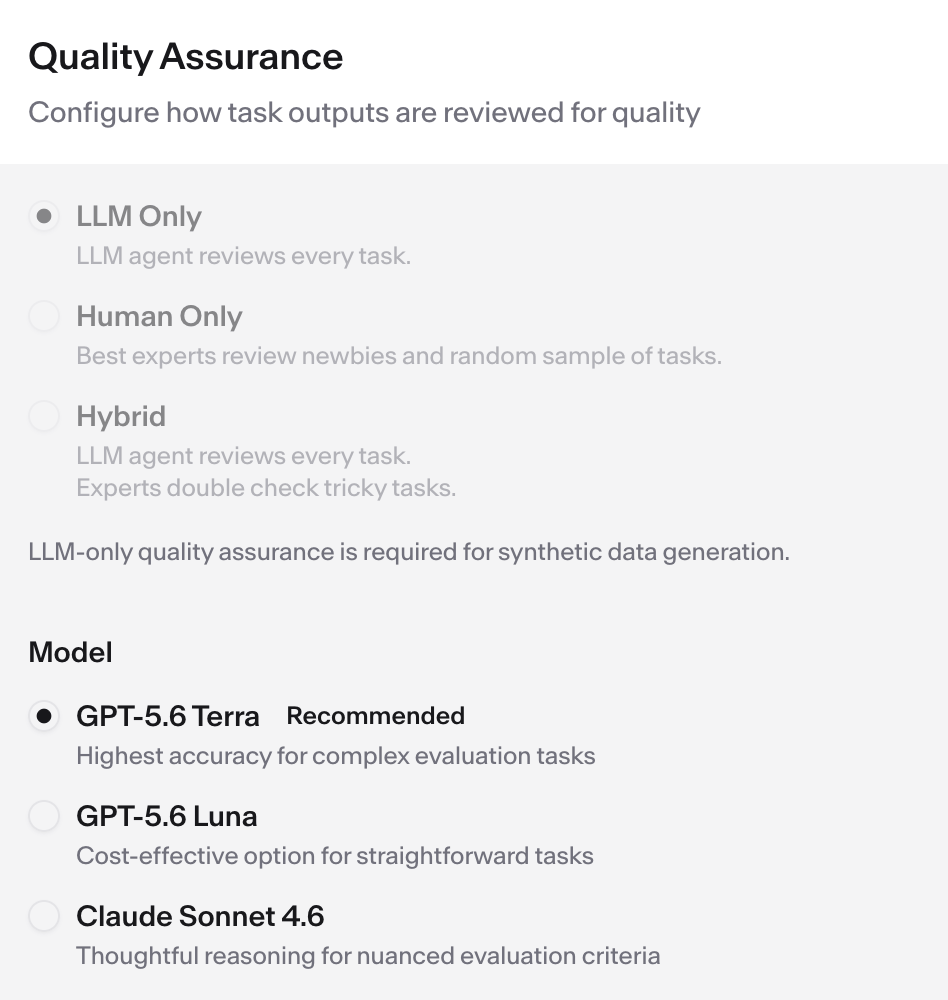
Tell the agent, in plain language, that you want this node labeled by an LLM instead of experts. For example, say “label this node synthetically” or “use an LLM to generate the labels here.” The agent confirms the switch. Three things change at once:- Quality review is set to LLM review. The node’s settings show LLM Only.
- Any audience reuse from another pipeline is cleared.
- The expert audience settings no longer apply.
Step 2 — Choose the generation model and effort (optional)
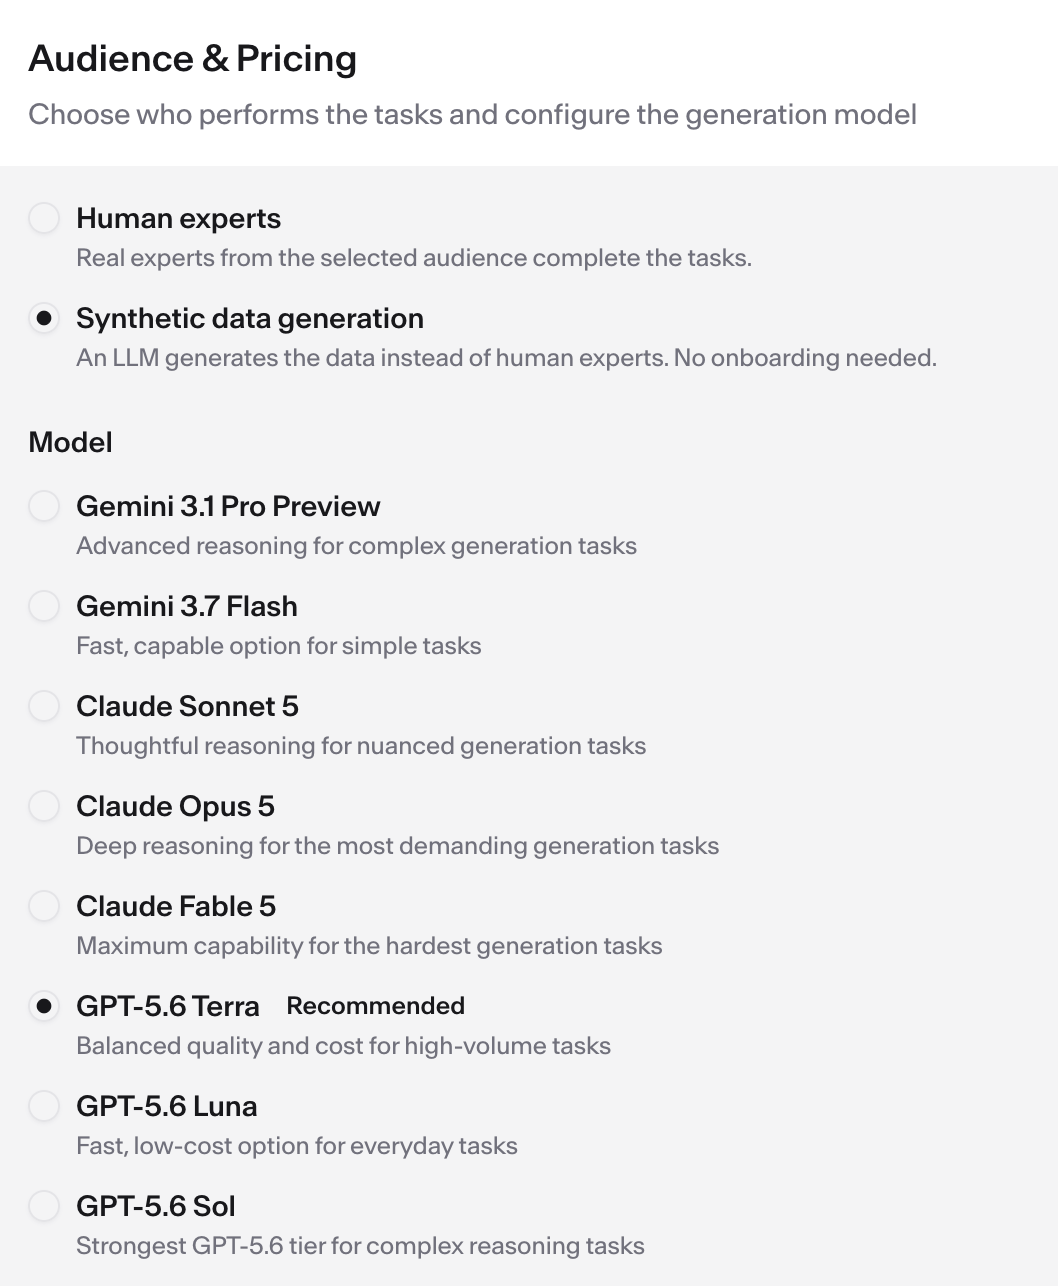
By default the node uses the recommended model at its default reasoning effort. The catalog currently offers eight generation models, with GPT-5.6 Terra the recommended default. The list changes over time, so ask the agent for the current options. A node pinned to a retired model keeps it, shown disabled with an Unavailable badge; once you move off it you cannot pick it again. Tell the agent which model to use, or ask it to make the model reason harder or lighter on each item. The agent confirms the model and, where the model supports it, the reasoning effort. On a model that cannot adjust effort, the agent keeps the default or picks a model that supports it. The cost estimate follows your choice. More reasoning raises the estimated tokens per item and the estimated price. A lighter setting lowers them. The generation model and the review model are two independent settings that share a default, GPT-5.6 Terra. Move one of them off it: a model rates its own output too favorably. Switching a node to synthetic labeling keeps whatever review model it already had, and picking a generation model never changes it.
To change the review model, open the node on the Pipeline tab and pick the Model under its Quality Assurance settings:
Step 3 — Set the generation budget
The generation budget is the most one generation attempt may spend on tokens. Give the preferred amount to agent, or set it with the Generation budget per attempt slider on the node’s Audience & Pricing card. An item runs up to two attempts — the first pass, plus one retry if quality assurance rejects the label — so the most you can be charged for an item is twice the budget, and that is the per-item price the cost estimate shows. Quality-assurance calls are billed on top of it. You still pay for real token use; the budget only caps it. The range follows the model and effort you chose in Step 2, so settle those first:
The slider’s estimates depend on the model and effort, not your data. Run the Synthetic Generation test on representative inputs to inspect token use before lowering the budget. Long inputs can use more of the budget; a budget below Typical can stop generation before a label is complete.
Going below the typical cost is allowed but flagged: generation stops when the budget runs out, which can truncate a label and waste the retry. Changing the model or effort keeps your cap, so choose it again—worst cases can differ several-fold between models. If the budget is above the new model’s maximum, deployment is blocked; if it’s below the new model’s typical cost, you’ll get a warning.
Step 4 — Add extra guidance for the model (optional)
If the model needs guidance beyond the main task instructions, tell the agent to add it for the LLM. This might be a tone to follow or an output quirk to avoid. You can also specify an edge case to watch. The agent adds the guidance on top of the node’s task instructions. Keep the task itself in the main instructions and use this only for model-specific notes. To check what is set, ask the agent to read the guidance back, or click Preview next to the Special LLM instruction box on the node’s Audience & Pricing card.Step 5 — Review the quality criteria
Ask the agent to show the node’s quality criteria and tell it what to change, or edit them by hand on the node’s Quality Requirements card. The shared review model is covered under Quality control. Every generated label is checked against these criteria, and a failing label is retried, so they decide both the quality you get and the tokens you spend. The agent lists each criterion with its pass and fail conditions. Make sure every output the node produces has at least one criterion and each pass condition describes exactly what you would accept.Step 6 — Run the pipeline and check the results
Launch the run as you would for any pipeline. Each item goes through the generate-and-check cycle described above. If a label doesn’t pass the check, it’s regenerated and rechecked once—one retry, set by the platform and not configurable. Each labeled item is returned with its generated fields and a verdict for each quality criterion, just as if it had been labeled by experts with LLM review. Wait until the run has finished, then export it. An export is a snapshot taken when you start it, so items that finish later are not included. In the export, each item lists its output fields and the per-criterion verdicts, each with a reason. A criterion on a repeating output field returns a list of verdicts, one per repetition. Most verdicts read pass or fail. Occasionally another state, such as skipped or error, appears when a check could not be completed for that item.Good to know
- Each check is a billed LLM call. Every quality criterion is checked with its own call, and once per repetition for a repeating output field. More criteria or repeating outputs raise the check cost even when every label passes.
- Retries consume paid tokens too. A failed attempt is billed like any other generation, and both attempts share a single cap: twice your per-attempt budget.
- Switching back to experts starts fresh. If you later ask the agent to use expert labelers again, it does not restore the audience, price, or review settings you had before. You set those again.
Related
- Export your labeled results — collecting the labels and per-criterion verdicts this run produced
- The kinds of nodes a pipeline can contain — where the Generation node you just switched fits among the others