

Before you start
You need:- An account you can sign in to, with any verification requested in the app completed.
- Full access to the selected team. If you belong to several teams, switch to a writable team before choosing Data labeling. Read-only members cannot create a project.
- A team with a funded balance. This run itself costs nothing: it labels by simple rules, with no experts and no language model, so its cost breakdown comes to zero — you will see that in the cost window before you launch. A run still cannot deploy on an empty balance, so any balance of at least $0.01 covers it. See Billing.
- The demo dataset below, saved to your computer.
support-tickets.json:
ticket_text. You will refer to that field by name when you describe the task.
You need no API key for this tutorial, or even on the language-model path. The platform runs the models for both LLM labeling and its quality review. A key of your own only comes into play when a node calls an outside service you control.
Step 1 — Sign in
Sign in with your account. On your first sign-in, choose Pay to have tasks done for my business, then Company (legal entity) or Individual, and complete the registration form.Depending on your email address, the platform may review your sign-up first. The form is titled Tell us about your project and asks you to Describe your project goal. Click Submit request. The Request sent screen appears while the team reviews it, and the platform emails you when the team approves or declines the request. After approval, sign in again to open your team’s project list. If the request is declined, or sign-ups are closed for your email address, the platform shows We can’t provide access.
Step 2 — Choose Data labeling
On the home screen, click Data labeling. This creates a draft project and opens Let’s set your task. A project holds your data, your chat with the agent, and the pipeline the agent builds inside it. A draft that stays empty for more than a day is deleted automatically.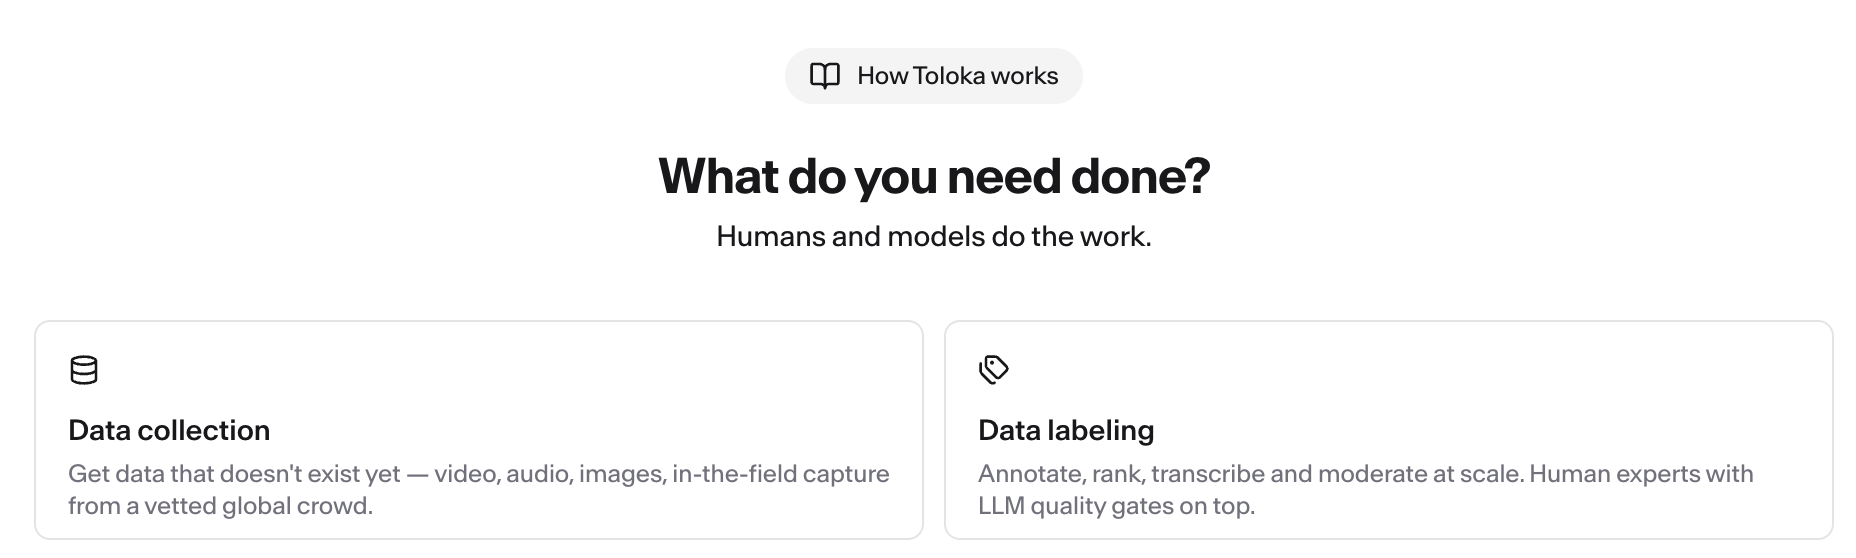
Step 3 — Describe the task and attach the data
On Let’s set your task, use Add datasets, presentations, examples to attachsupport-tickets.json, then type this task into the message box exactly:
Label each support ticket in the attached file by its intent. Read theClick Continue → to submit. Pressing Enter in the box only adds a line break. Your project opens, and the agent drafts a plan from your description. From here you talk to the agent in the chat on the project page. If it asks how to do the labeling, confirm you want simple rules, no language model and no API key. Open the Plan card and check that it uses the attached tickets, simple rules, and anticket_textfield and assign one label:question,complaint, orpraise. Use simple rules, not a language model — no API key needed. Add the label as a new field calledintent.
intent output. If something is wrong, leave feedback and click Send comments. When the plan is right, click Approve. Nothing is built until you approve; approval starts the pipeline build. See Review and approve the plan for the controls.
Step 4 — Let the self-check pass
After the agent builds the pipeline, ask it to run Code Test on representative tickets and check that the rules return the expected intent. Dataset Items Lint also checks the selected tickets automatically. Review the results on the Code node’s Code Test card before deploying; see Self-check. Failed checks block deployment. If a check fails, send the agent this message and wait for the checks to pass:The self-check did not pass. Please fix the pipeline so the checks pass, still using simple rules and no language model.
Step 5 — Deploy the pipeline
Open the Pipeline tab and click Deploy in the bottom toolbar. The Items tab appears after deployment finishes.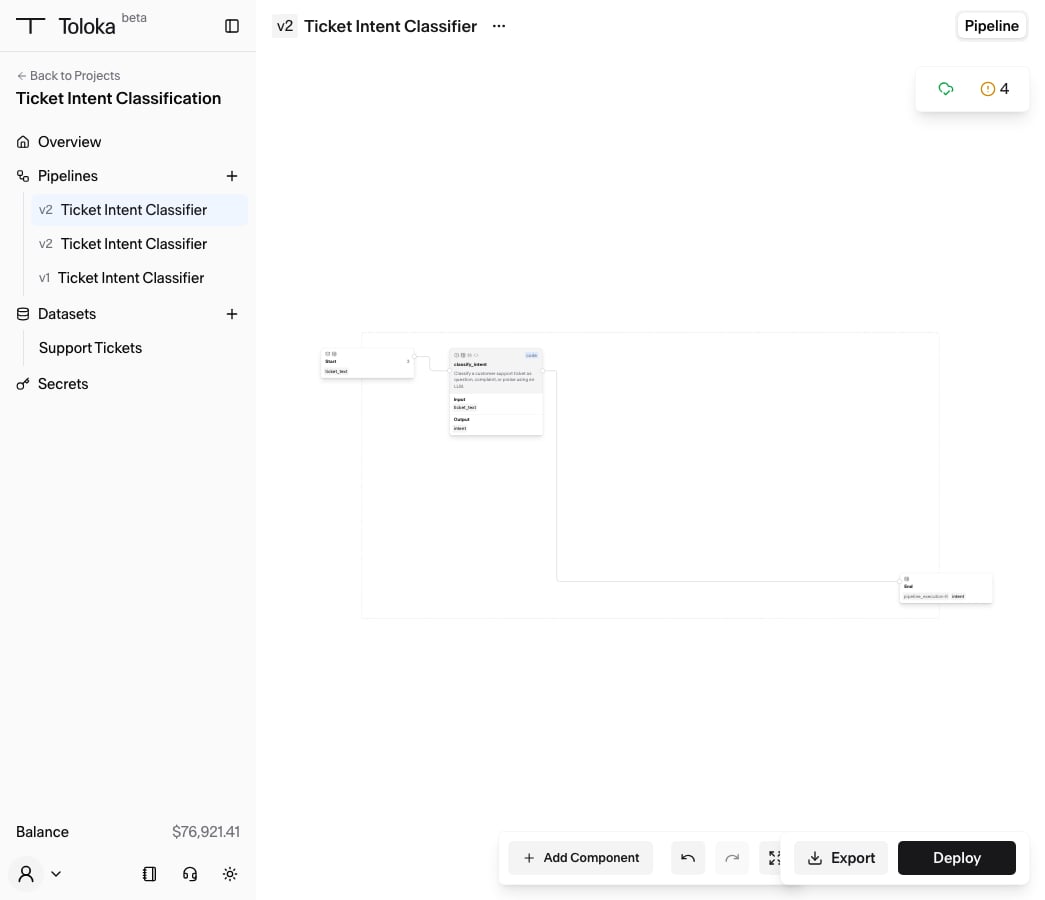

If the Issues window opens instead. On a brand-new pipeline that has not been run, a check may flag has not been run before the cost window. Tick I want to deploy with unresolved warnings and click Deploy. If Code Test has run and the lints have finished, Deploy takes you straight to the cost window.
Step 6 — Watch it finish
Open the Items tab to see the progress of every item in your dataset. The run is done when a green 100% Finished bar appears and the counter chips read completed: 10 / canceled: 0 / failed: 0 / paused: 0 / in_progress: 0. Wait for completed: 10. Every ticket is then labeled. The other chips count states this run should not hit — Resume or cancel a pipeline run explains paused and canceled items, and Export your labeled results lists every status an item can end in.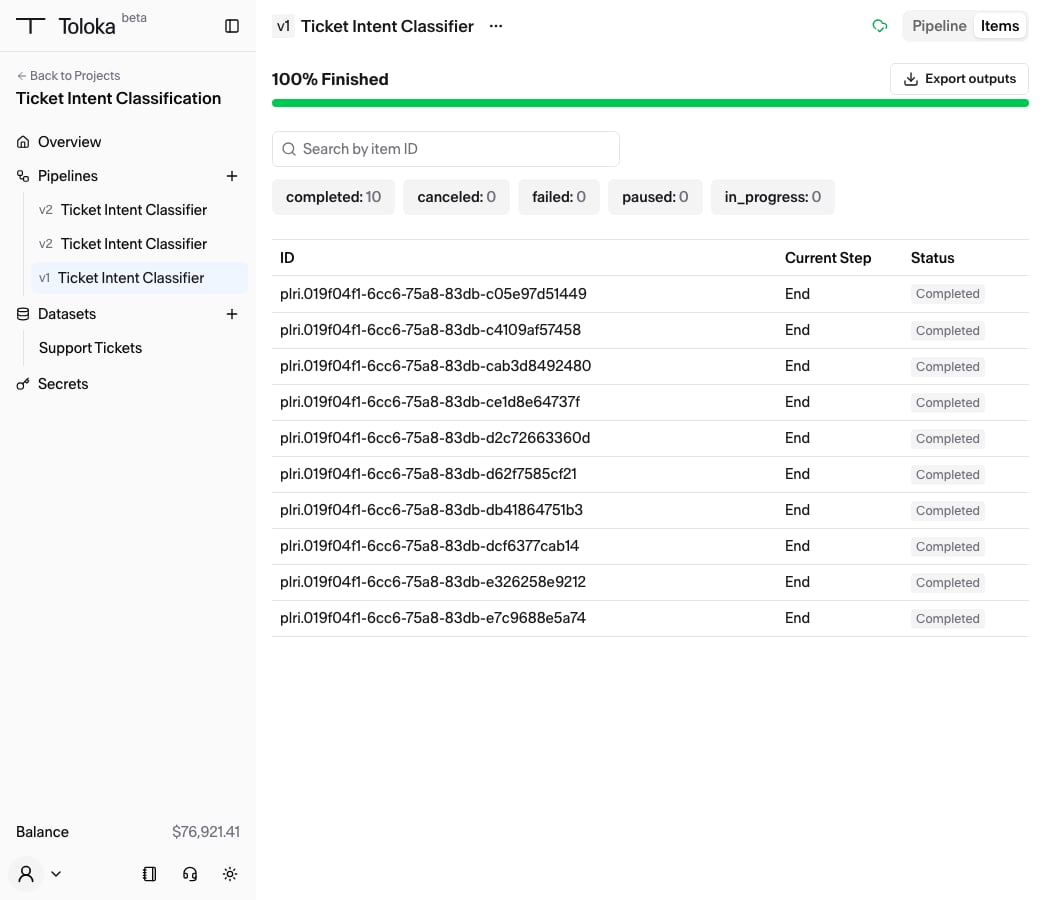
Step 7 — Export and download your labeled file
Click Export outputs in the top-right of the Items tab to open the Exports popover, then click New export. A completed row appears with a download icon. Click it to download your labeled file. Open the file: one row per ticket, each with its position (index), its status, the original ticket under input, and the label your pipeline produced under output. For example:
output in a field named intent, the field name you asked for in your task. That downloaded file is your first labeled dataset.
Next steps
This tutorial used a node that labels by simple rules, with no expert time or language model. It proves the workflow. The product’s real labeling paths are expert labeling and LLM labeling with automated quality review.- How data labeling works explains how the pieces fit together.
- Train your first model trains a model on the same 10 tickets from the command line and downloads the result.
- Pipeline nodes reference lists every kind of node.
- Label with an LLM instead of experts covers the LLM labeling path with automated quality review.
- Export your labeled results returns to your downloaded file.