

Before you start
You need:- An account you can sign in to.
- Full access to the selected team. If you belong to several teams, switch to a writable team before choosing Data collection. Read-only members cannot create a project.
- A team with a funded balance. A template run incurs labeling charges, so deployment is blocked on an empty balance. See Manage your team and balance.
- Your data, if you have it. You can also let the assistant build the dataset for you, which is what the collection templates do — they generate one empty slot per recording.
Step 1 — Say what you need done
Sign in. The home screen asks What do you need done? Click Data collection. The current templates collect egocentric activity video or app-testing recordings. For an existing dataset that needs annotation, ranking, transcription, or moderation, choose Data labeling and have the agent build the project instead.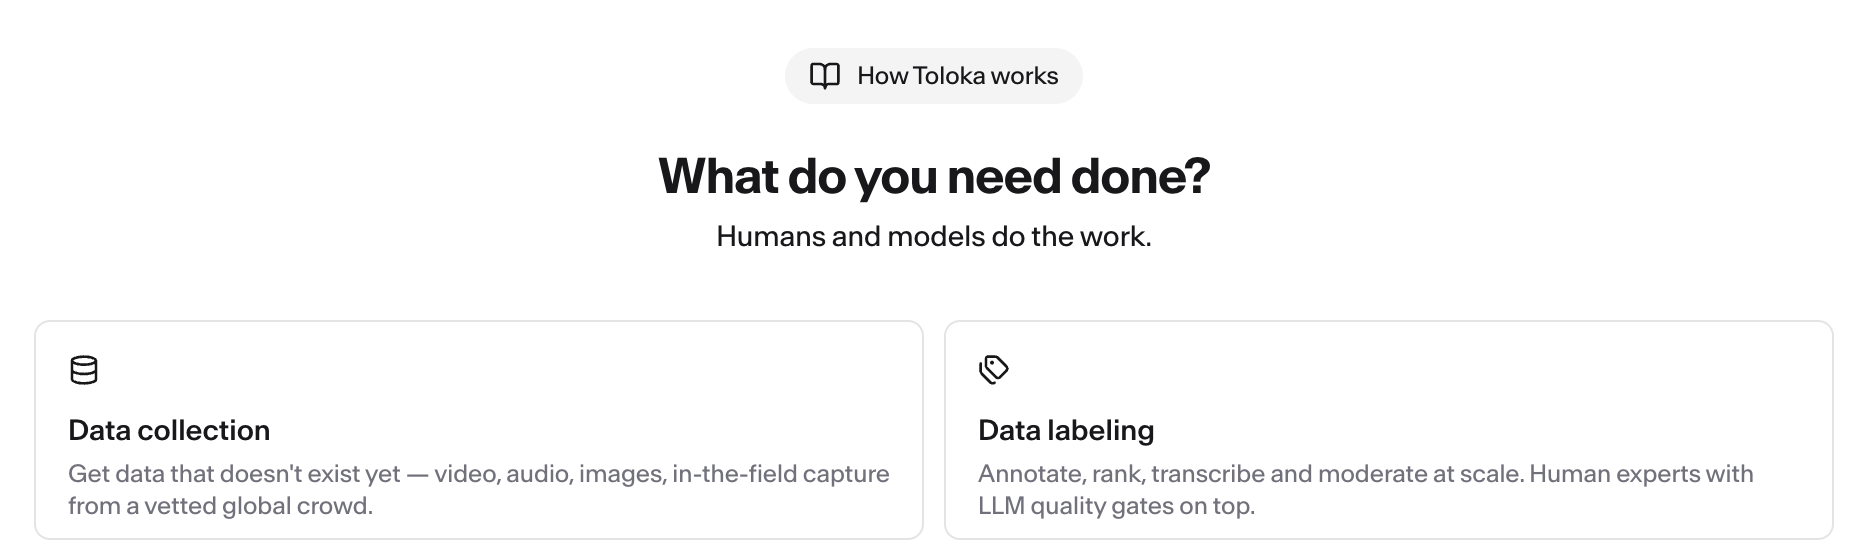
Step 2 — Open a template
Under the description field is a Use a template section. Each card names a template and says what it collects. Click the one that matches your job.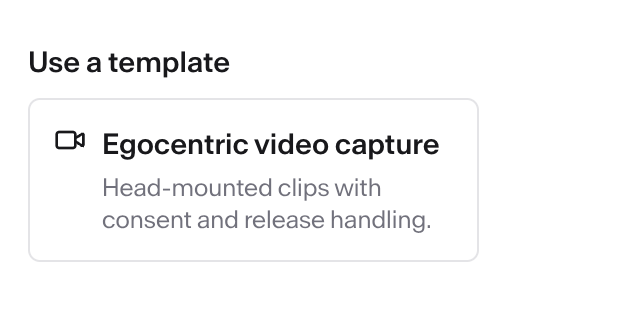
The + Project button on the Projects page also creates a draft, but it skips the use-case question, so the section lists every template instead of the ones for your job.
To reuse a pipeline you built in another project, click Import pipeline in the Import section below the templates, and choose the
.pipeline file saved with Export in the source pipeline’s More pipeline actions menu. That file holds the pipeline configuration, not results. The project opens with that pipeline, but without its dataset or item filter. Attach a dataset, set the filter again if you need one, and check the item count on the Start node before you deploy.Step 3 — Check the preview, then continue
The card opens a preview: the pipeline the template will build, and a summary of the prompt it will send to the assistant on your behalf — including the defaults it assumes for the expert audience, price per item, and item length. Read the summary; those defaults are what you will be changing later if they do not fit.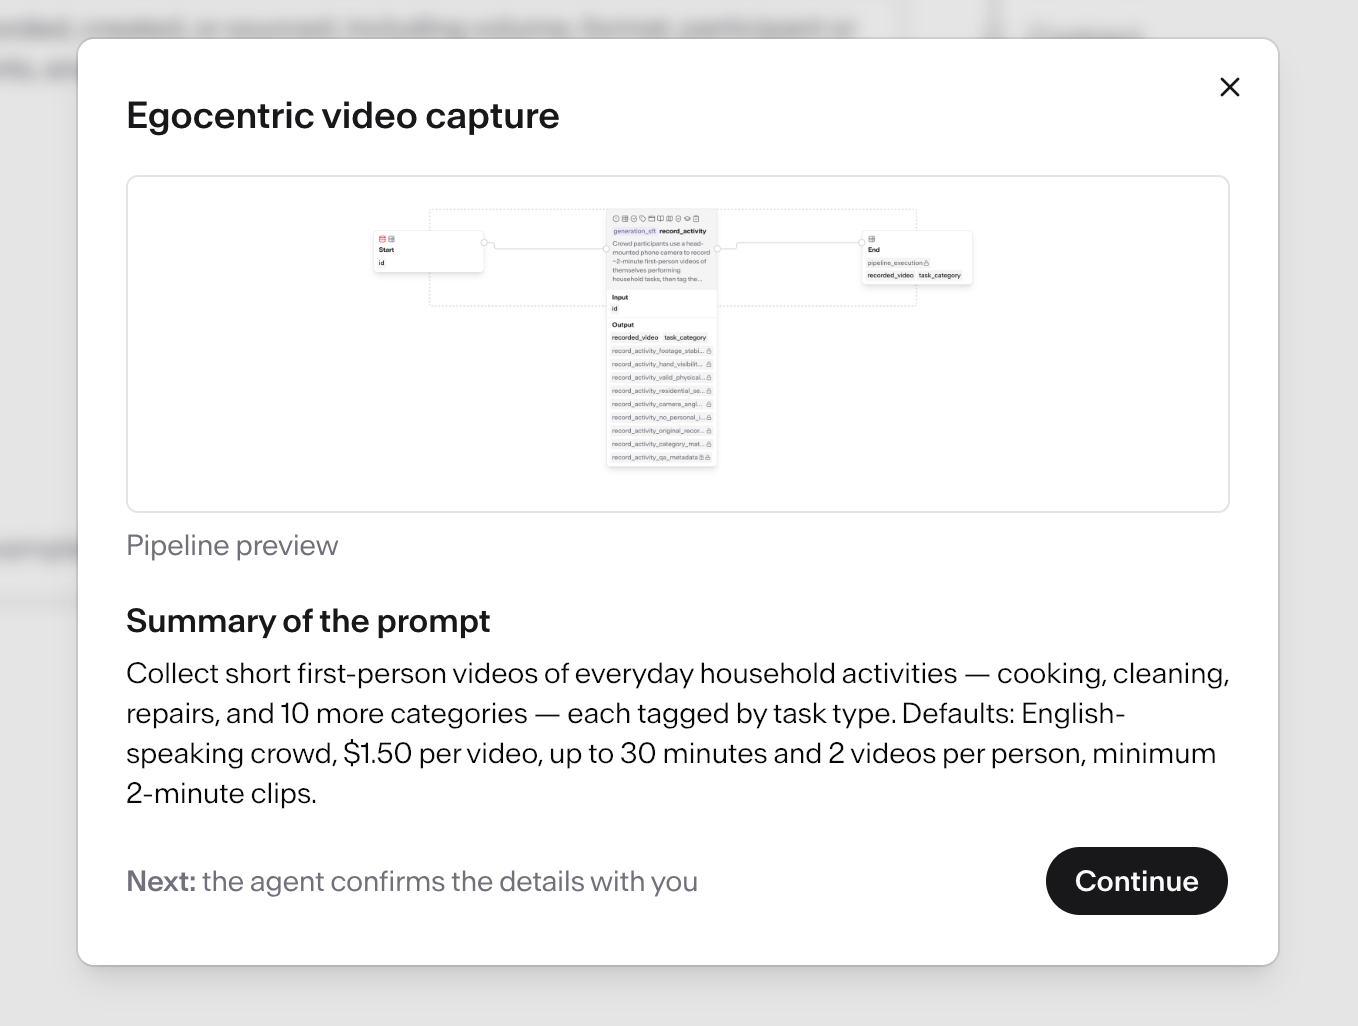
The pipeline is built at this point, but it is not yet pointed at any data. That is what the next two steps are for.
Step 4 — Answer the assistant’s questions
The assistant asks everything it needs in one go, right after its opening message. You answer the questions one at a time; some offer suggested answers, and you can type your own instead.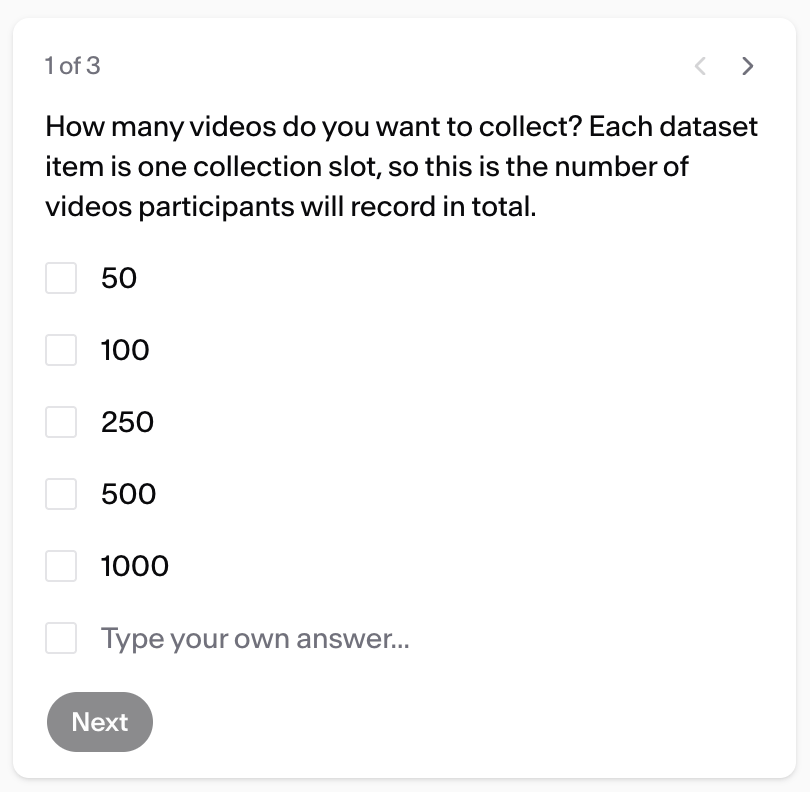
- Egocentric Activity Video Collection — three questions. How many videos you want (50, 100, 250, 500, or 1000); whether to keep the default list of 13 household activity categories, narrow it, or collect a different domain; and which of the defaults you want changed — audience languages and countries, price per task, time per task, the per-expert cap, and the minimum clip length. “Nothing” is a valid answer to the last one.
- App Crowdtesting — four questions. How many recordings you want (50, 100, 250, or 500, one per tester); the install link testers download the build from; what the app is and whether testers should be on Android or iOS; and what a good test session looks like — plain prose describing what a tester should have done by the time they stop recording, including anything off-limits such as paying or deleting an account.
Step 5 — Attach your data
Upload your dataset, or ask the assistant in the chat to generate one. Templates that collect fresh data — recordings, photos, test sessions — do not need a dataset from you: the assistant creates one row per item you want collected and wires it to the pipeline.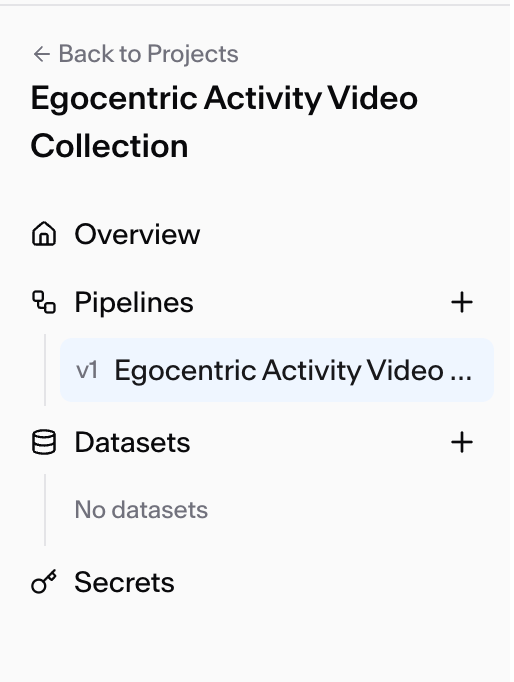
Step 6 — Review each node
Open the pipeline and check every node before you launch. The template’s defaults are a starting point, not a recommendation for your budget: price per task, time per task, the audience filters, the labeling interface, and the expert guidelines are all yours to change.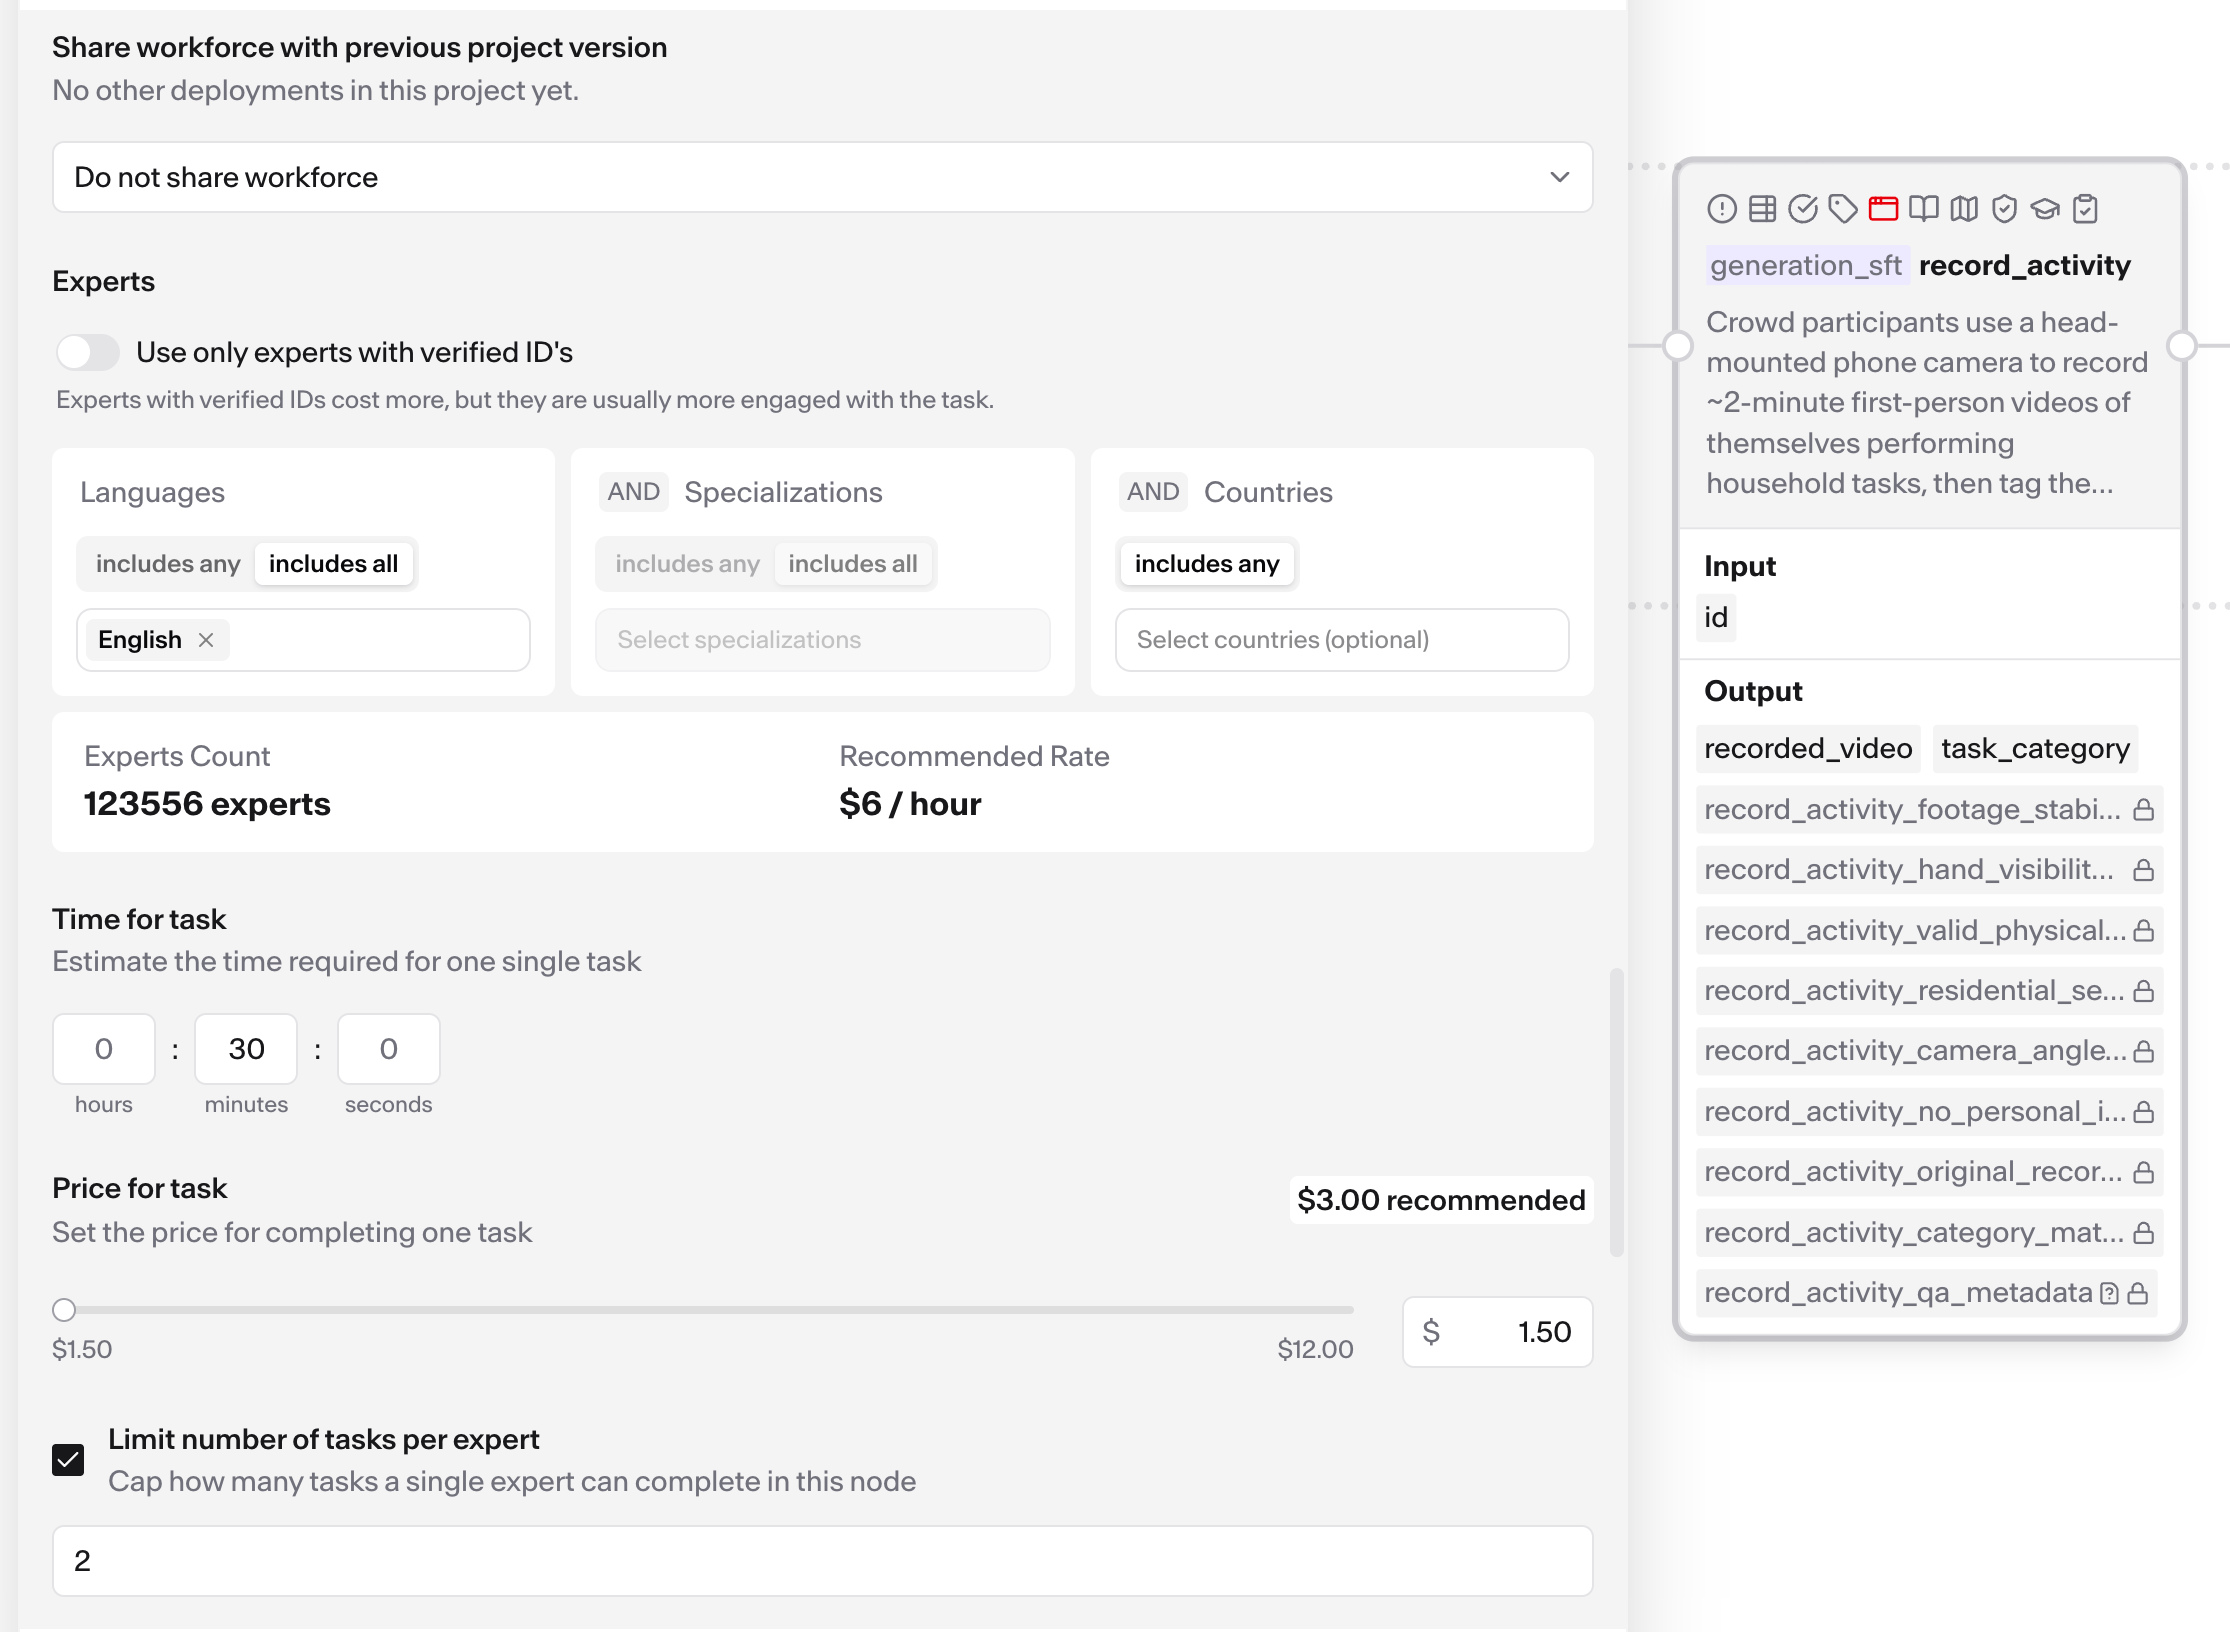
Step 7 — Deploy
Click Deploy.
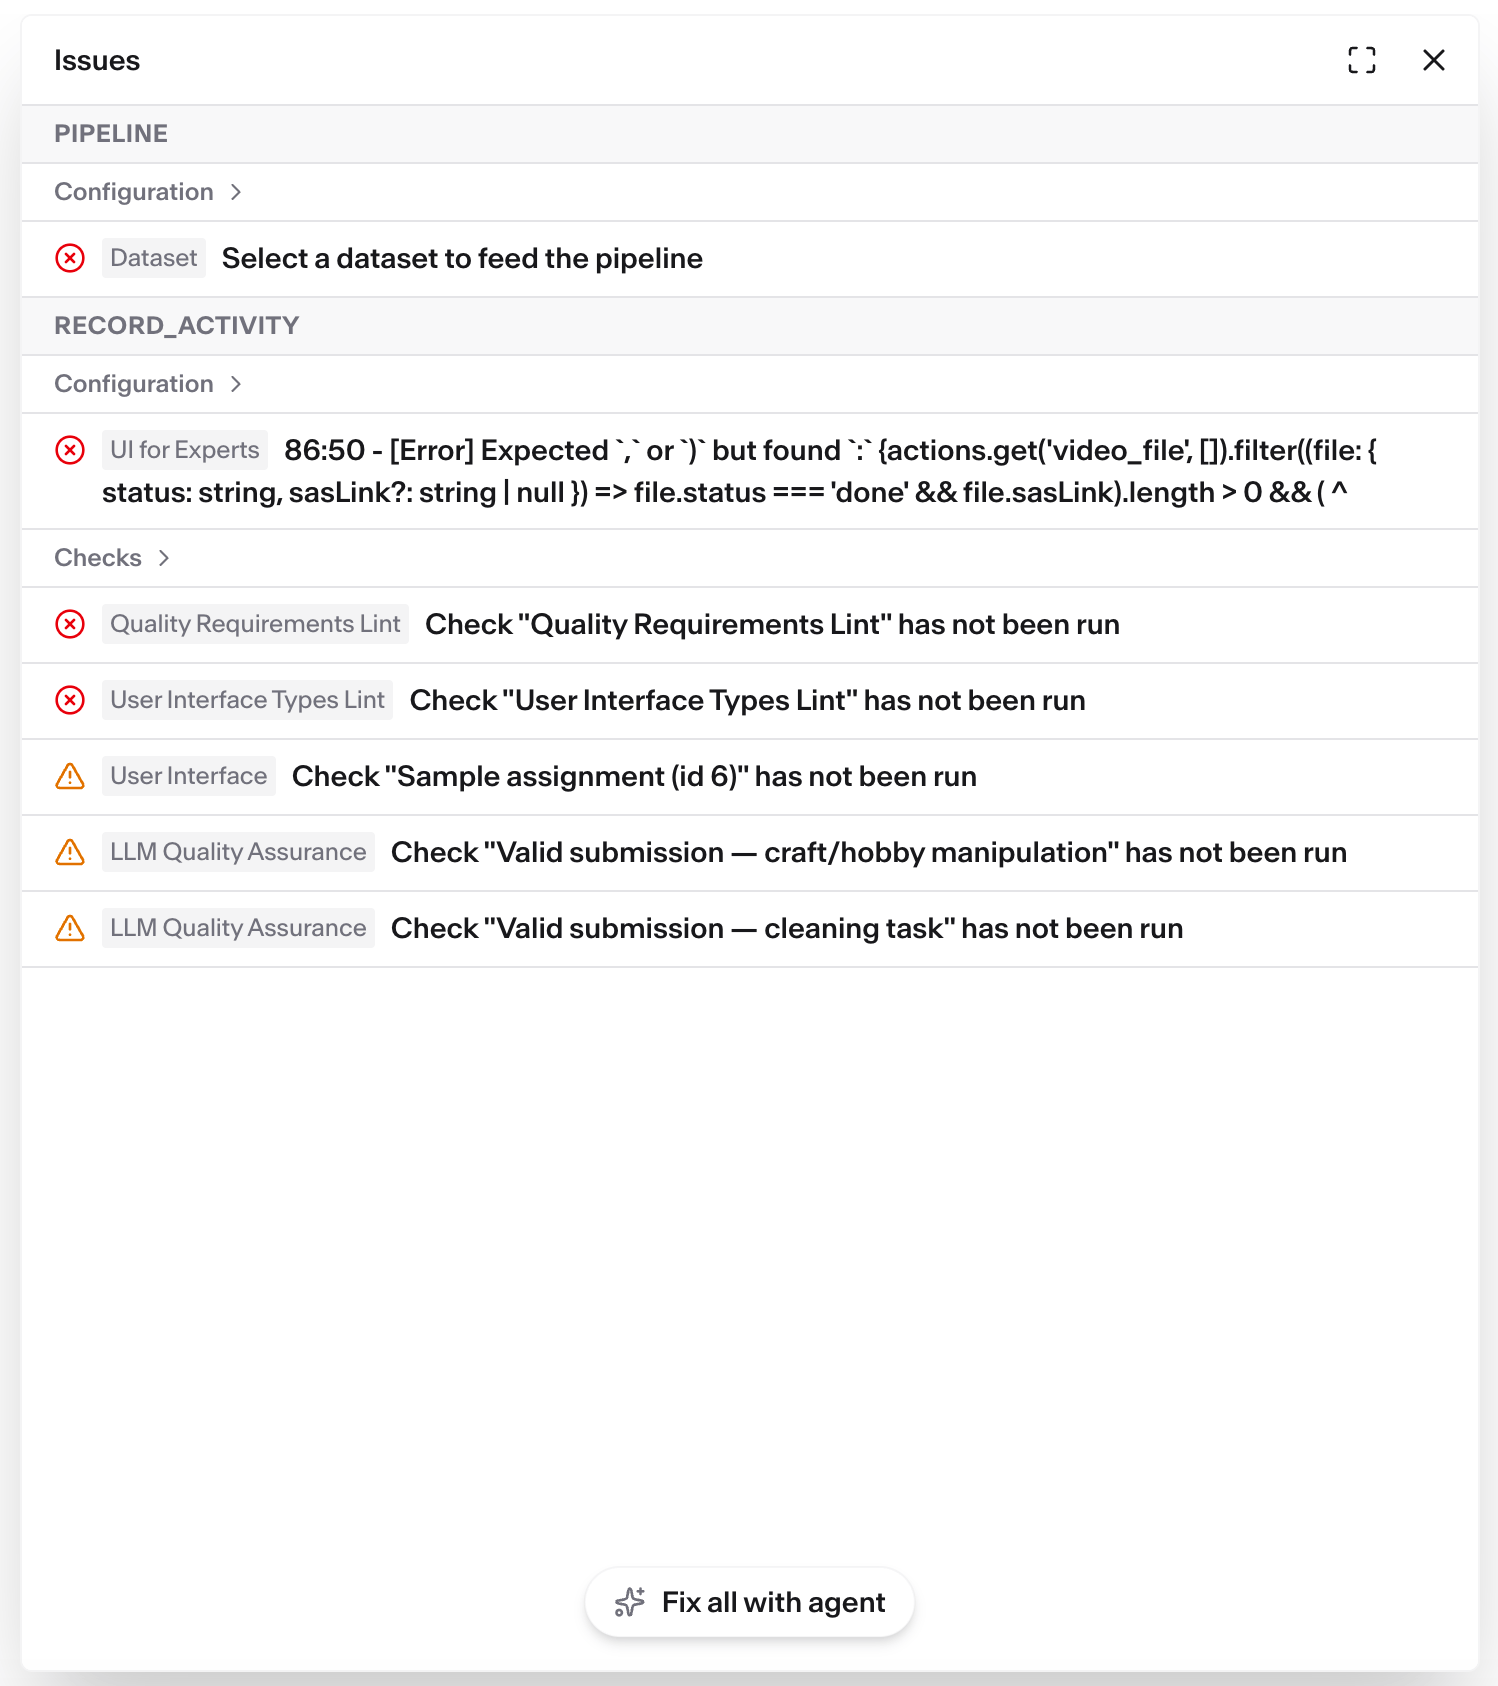
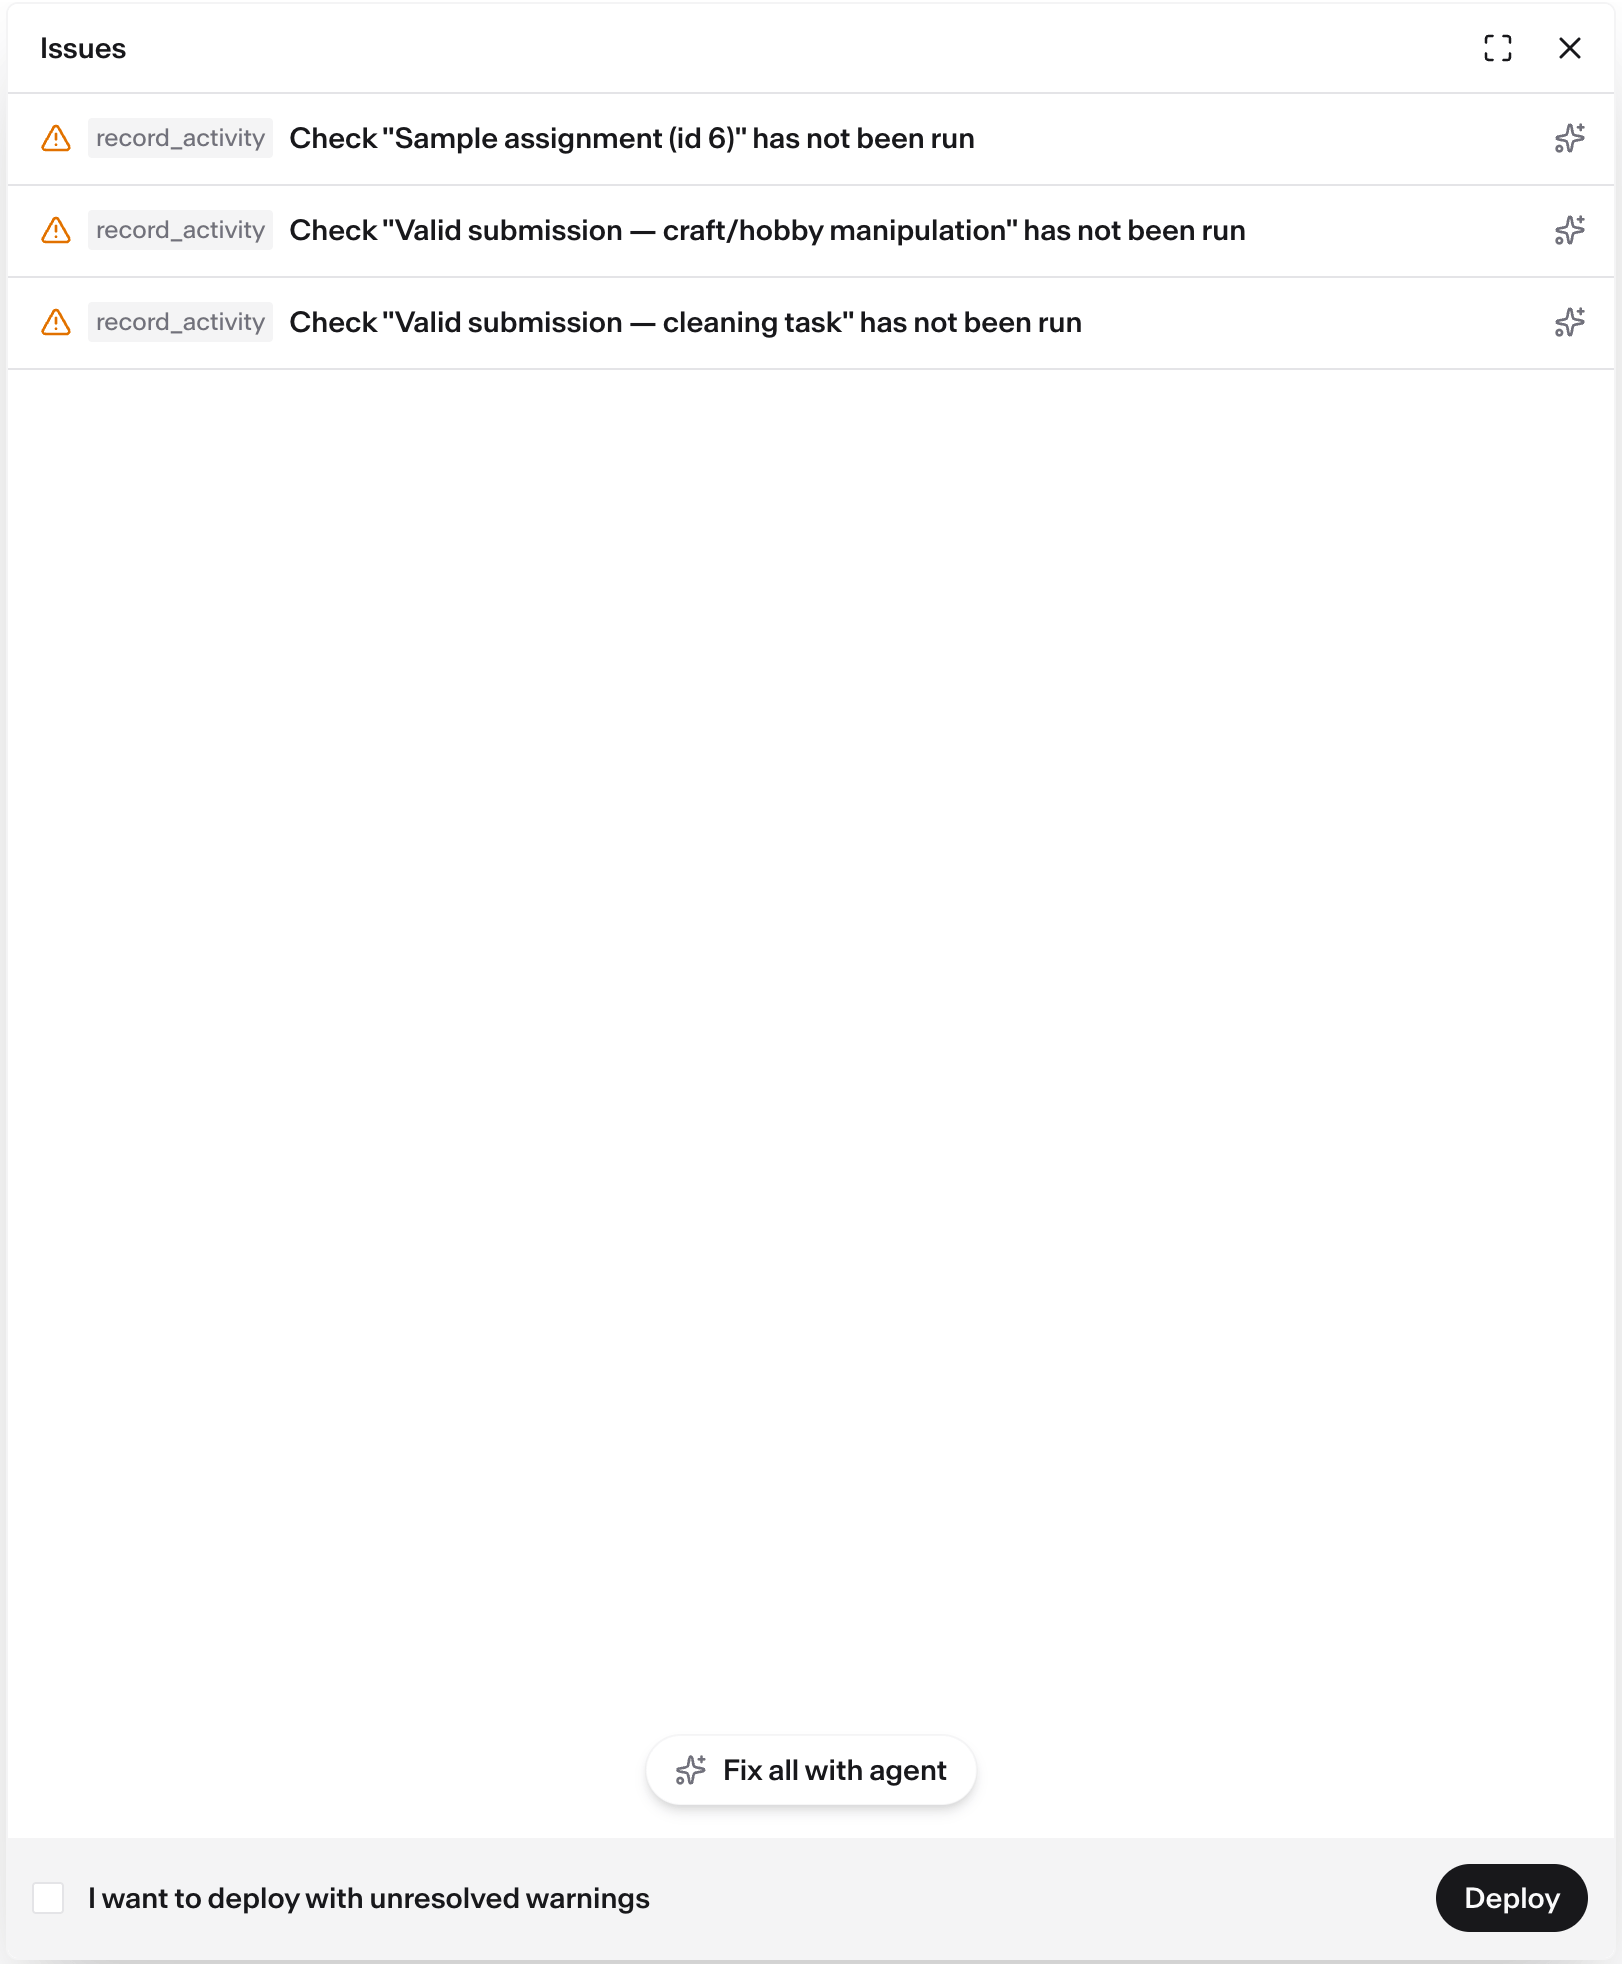
Step 8 — Confirm the cost
The cost breakdown opens, line by line, with an expected and a maximum total. If it is more than you want to spend, cancel, go back to Step 6, and lower the price per task or the item count.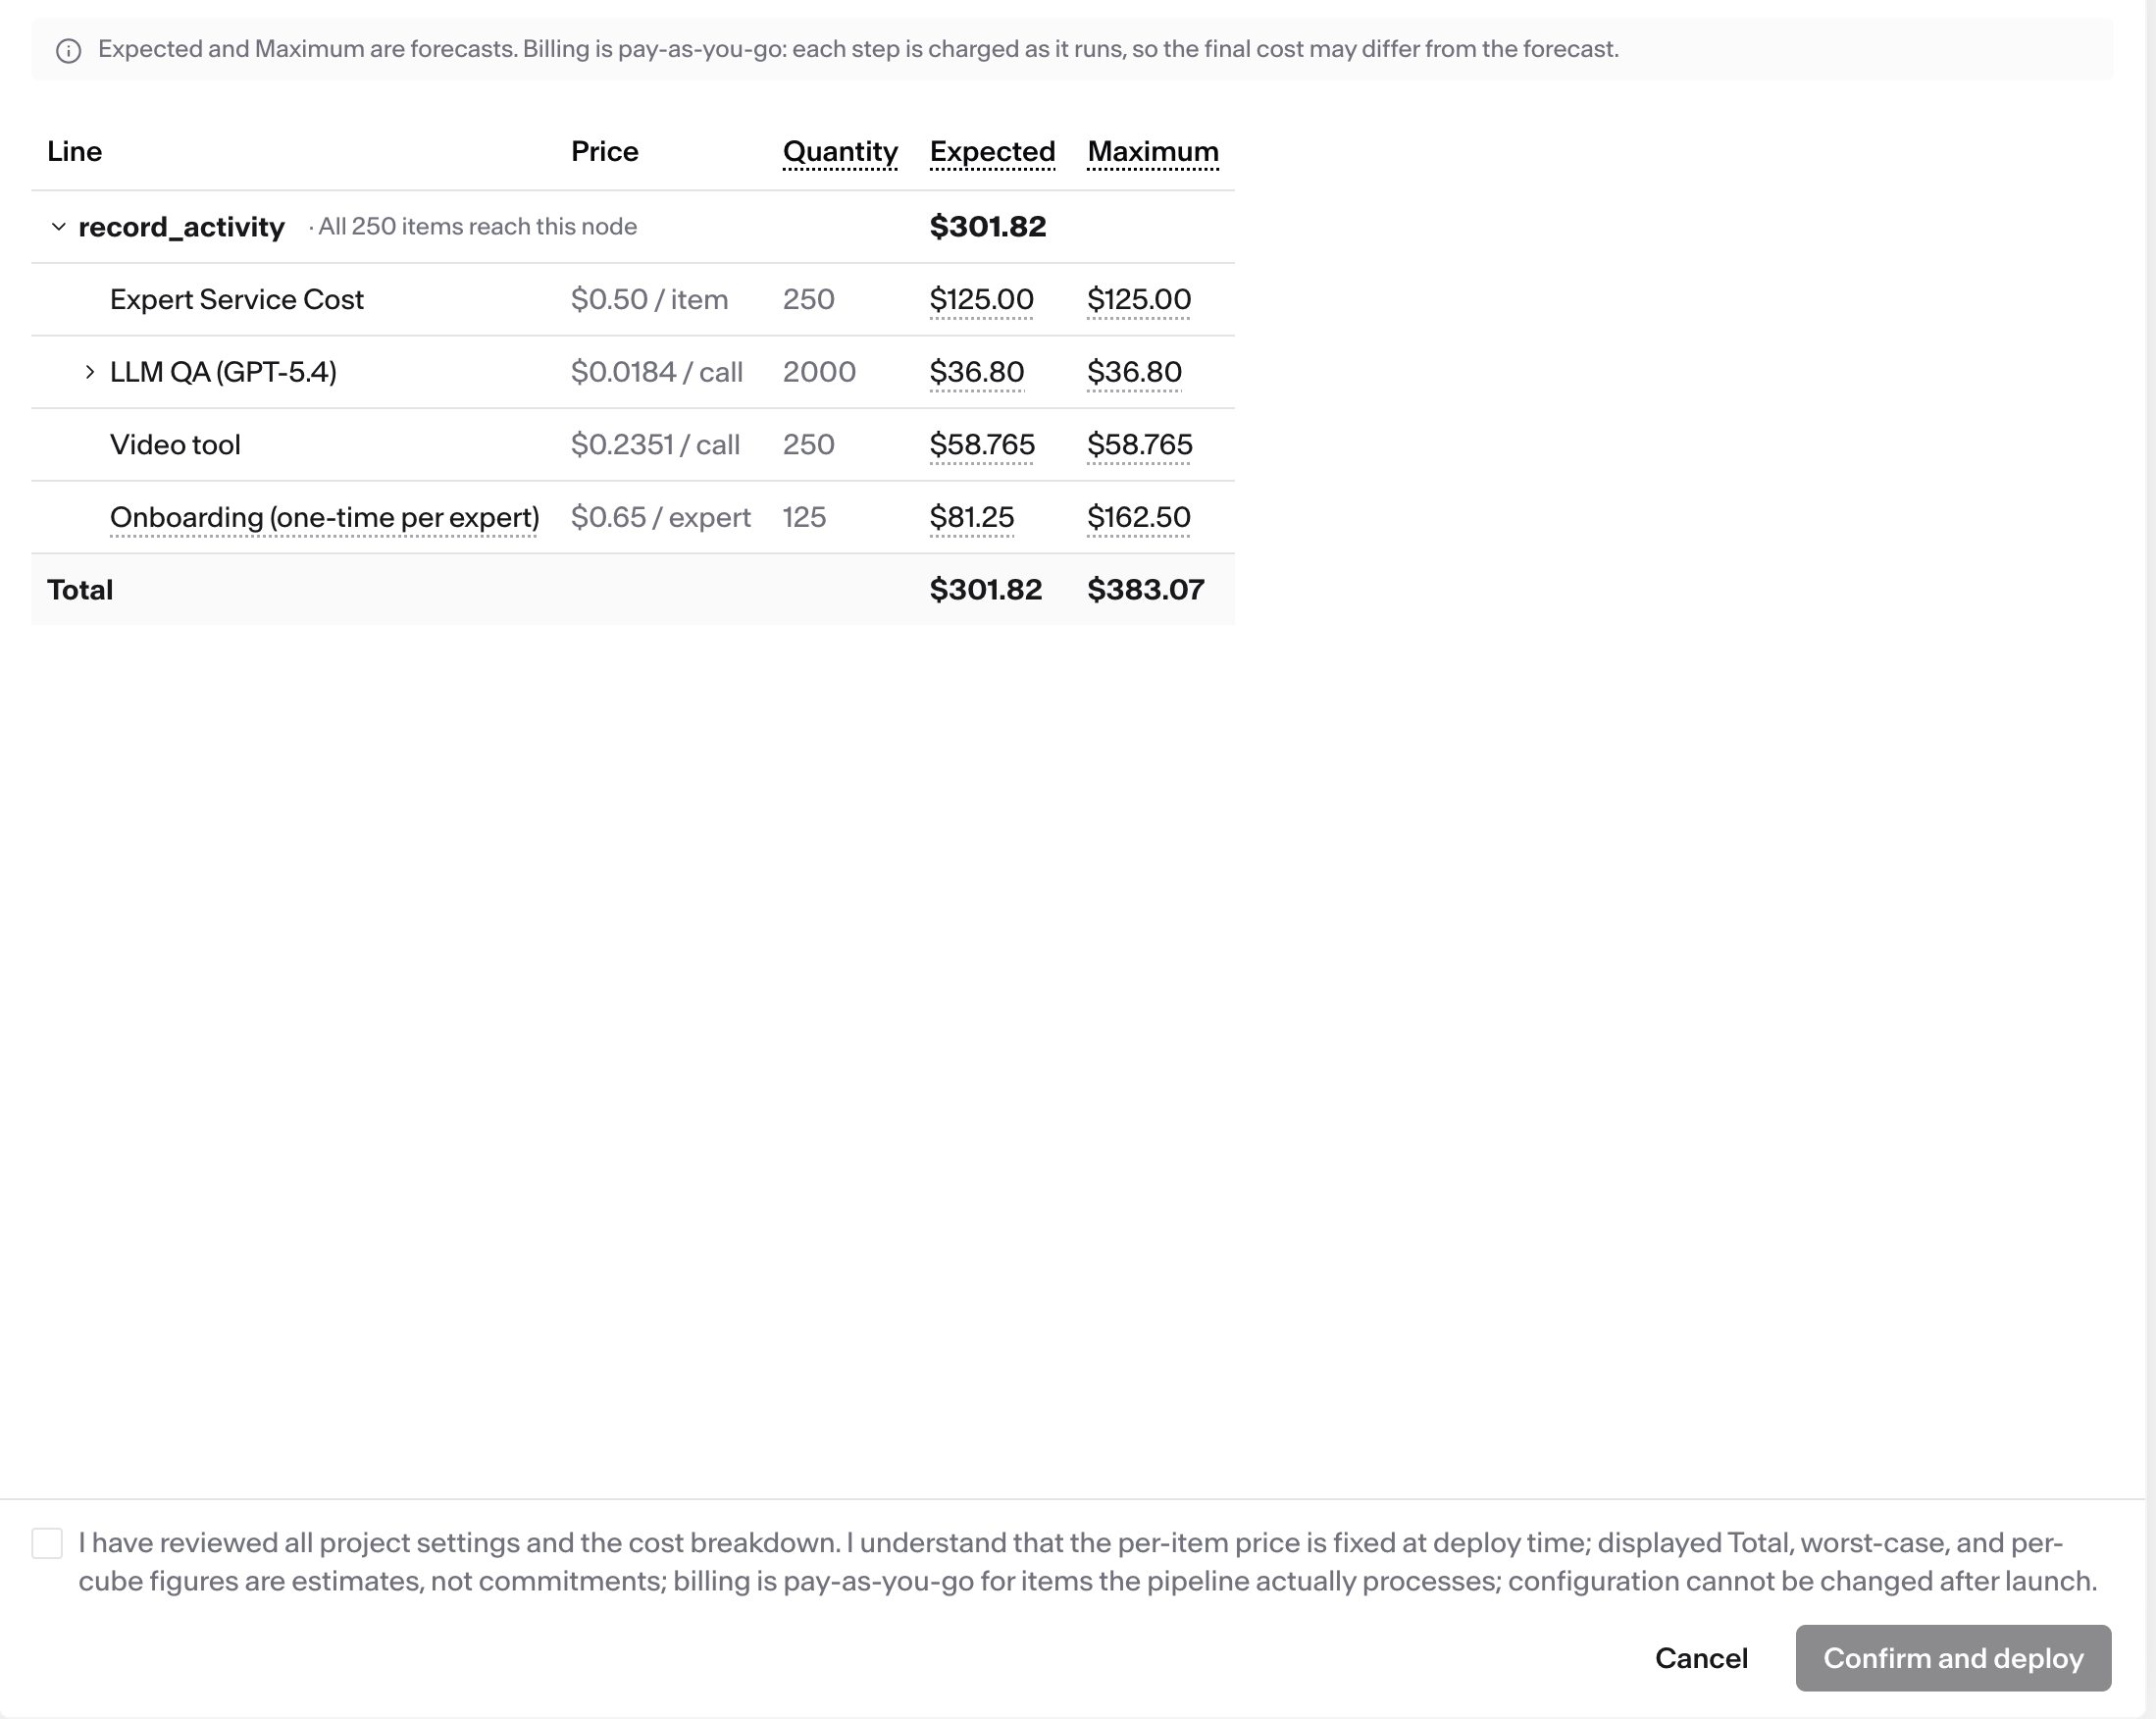
Step 9 — Wait for the launch
Launching Pipeline appears and tracks the deploy step by step. It usually takes 5–15 minutes, and you can close the window and come back.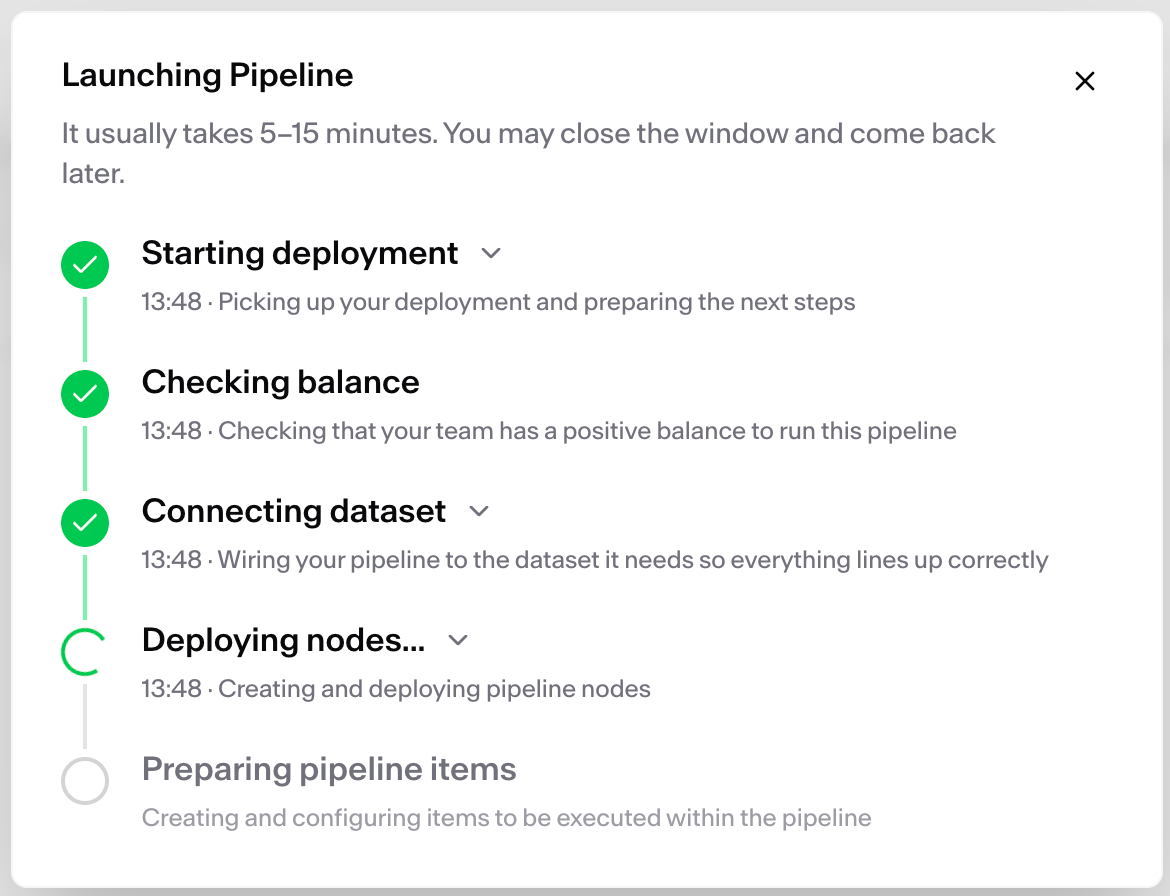
What’s next
- Export your labeled results when the run has results.
- Resume or cancel a pipeline run if you need to stop it.
- Troubleshoot a pipeline run if items are not getting done.